A stunning gaze that’s full of charm and seductiveness – for me – is only possible with long and curled eyelashes. In everyday life, I used to use an eyelash curler and mascara but the results were not stunning. More and more, I looked for solutions that are more durable and give better results. I opted for the Nanolash lift and lamination kit!
Why did I choose to lift and laminate my eyelashes at home?
You might be wondering, why am I so excited about the lash lift and lamination kit from Nanolash. Well, I have my reasons. My eyelashes were neat, but unfortunately, their length was not stunning. Similarly, the curl simply wasn’t there. While on a daily basis, I could go out using only an eyelash curler and a few coats of mascara, I was looking for a WOW effect for special occasions.
Unfortunately, strip lashes peeled off very quickly, and I couldn’t keep up with the touch-ups. I couldn’t decide on long-lasting lash extensions either. I have to admit that I didn’t want to weaken my lashes. For me, their care was the most important thing.
In the end, I decided to perform a lash lift. Looking through the price lists at professional beauty salons, I got discouraged very quickly. Faced with this, I began to look for alternative solutions. While browsing beauty news sites, I came across Nanolash Lash Lift Kit.
The fact that I could carry out such a treatment in my own home convinced me. In addition, I noticed that the box contains 30 x 0.5 milliliter sachets of each product. If I can perform 10 lash lifts for this price, I guess there’s no question why I chose to do it.

Nanolash Lash Lift Kit – my first first lamination at home
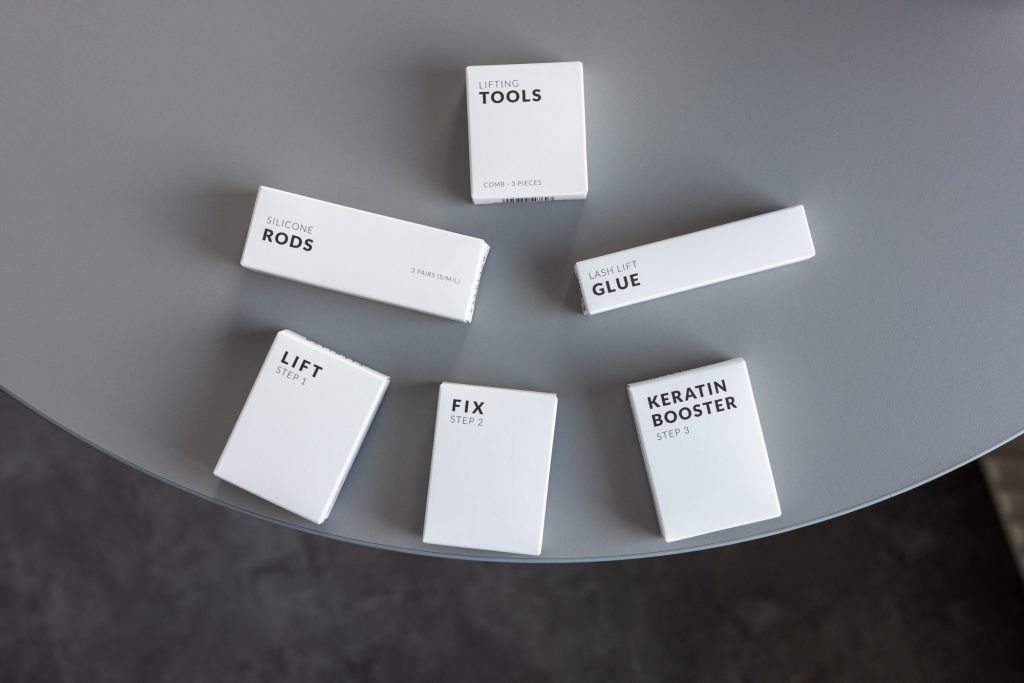
I have already mentioned that the lash lift kit from Nanolash contains 3 formulas of 10 sachets each. Let me mention that the products are numbered to determine the order in which they are applied: Lift – Step 1, Fix – Step 2, and Keratin Booster – Step 3.
In addition, the lift and lamination kit also includes necessary accessories such as:
- 3 pairs of rods made of quality silicone in sizes S to L;
- Lash Lift Glue for fixing the rods with a capacity of 5 milliliters;
- other gadgets and accessories to carry out the treatment.
The products were based on safe and natural ingredients like avocado oil and grape seed oil.
The instructions also clearly described the whole process. I started with:
- thoroughly removing my lash makeup so that no product residue was left on the lashes;
- separating the top and bottom lashes using eye patches;
- fixing the rods as close to the lash line as possible.
After that, I proceeded to apply the products.
- First, I applied Lift – Step 1 and waited 10 minutes.
Later:
- I washed the product off with a dry applicator and applied Fix – Step 2;
- I also waited 10 minutes and washed off the product with a damp applicator;
- I applied Keratin Booster – Step 3, waited, and washed it off;
- I gently peeled off the rods.
Simple, fast, and pleasant. Laminating my eyelashes at home with Nanolash Lash Lift Kit did not cause me any problems.

Nanolash eyelash lamination kit – what were the final results?
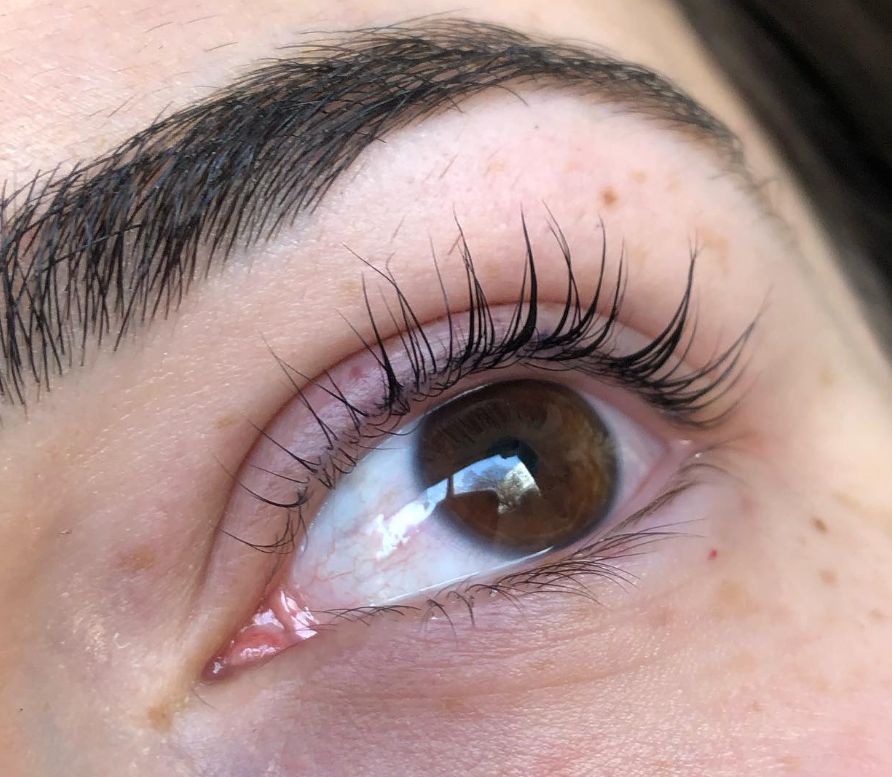
Dear readers, right after taking off the rods I couldn’t believe what I saw in the mirror. My eyelashes looked phenomenal. They were visibly longer and curled and became soft and pleasant to the touch.
I’ll admit that I gave up on my eyelash curler for 8 weeks. Yes, that’s how long the effect of laminating eyelashes at home lasts, which is exactly what the producer promised.
I wholeheartedly encourage you to test Nanolash Lash Lift Kit. I guarantee you that you will be extremely satisfied with the results!


